Messages
What is a Message?
In the AgentMail ecosystem, a Message is the API-first representation of a traditional email. It’s a structured object containing all the elements you’d expect: a sender, recipients, a subject line, and the body of the email.
Every Message lives inside a Thread to keep conversations organized. When you send a new Message, a new Thread is created. When you reply, the new Message is added to the existing Thread. Literally a normal email thread as we know it.
One of the powerful features of AgentMail is the ability to seamlessly include humans in agent-driven conversations. You can cc or bcc a real person on any message your agent sends, creating a “human-in-the-loop” workflow for oversight, escalations, or quality assurance.
Core Capabilities
You can interact with Message resources in several ways, from sending new Messages to listing a history of correspondence.
1. Initialize the Client
First, you need to initialize the AgentMail client with your API key. This client object is your gateway to interacting with the AgentMail API.
2. Send a New Message
To start a new conversation, you can send a Message from one of your inboxes. This action will create a new Thread and return the Message object.
Recipient limit: Each send or reply supports a maximum of 50 recipients across the combined total of to, cc, and bcc. If you exceed this limit, the API will return an error.
3. List Messages in an Inbox
You can retrieve a list of all Messages within a specific Inbox. This is useful for getting a history of all correspondence.
Searching Messages
To find Messages by keyword, run a full-text search across an Inbox. The query is matched against the sender, recipients, subject, and message body, and results are ranked by relevance. Each result includes a highlights object showing which fields matched, with the matched terms wrapped in **. Spam, trash, blocked, and unauthenticated messages are excluded, and limit cannot exceed 100.
Need an exact-field filter instead of relevance ranking? messages.list
accepts from, to, and subject substring filters and keeps the usual
newest-first ordering. to matches the to, cc, or bcc fields.
4. Reply to a Message
Replying to an existing Message adds your new Message to the same Thread, keeping the conversation organized.
Note that the inbox_id in reply is different from send, in that this is the
inbox_id we are sending FROM. Remember we can have potentially infinite
Inboxes to send from, so we need to tell the api which one we are sending
from.
5. Get a Message
You can retrieve the details of any specific Message by providing its ID along with the inbox_id it belongs to.
When receiving replies or forwards, use extracted_text or extracted_html for just the new content—quoted history is stripped automatically.
Copy for Cursor / Claude
Copy one of the blocks below into Cursor or Claude for complete Messages API knowledge in one shot.
Crafting Your Message: HTML, Text, and CSS
When sending a Message, you can provide the body in two formats: text for a plain-text version and html for a rich, styled version.
text: A simple, unformatted string. This is a fallback for email clients that don’t render HTML, ensuring your message is always readable.html: A full HTML document. This allows you to create visually rich emails with custom layouts, colors, fonts, and images.
Best Practice: Always send both text and html versions.
”Why both text and HTML?”
Most modern email clients will display the HTML version, not all of them can render HTML — a text fallback makes sure your message is displayed regardless. Furthermore it significantly improves deliverability.
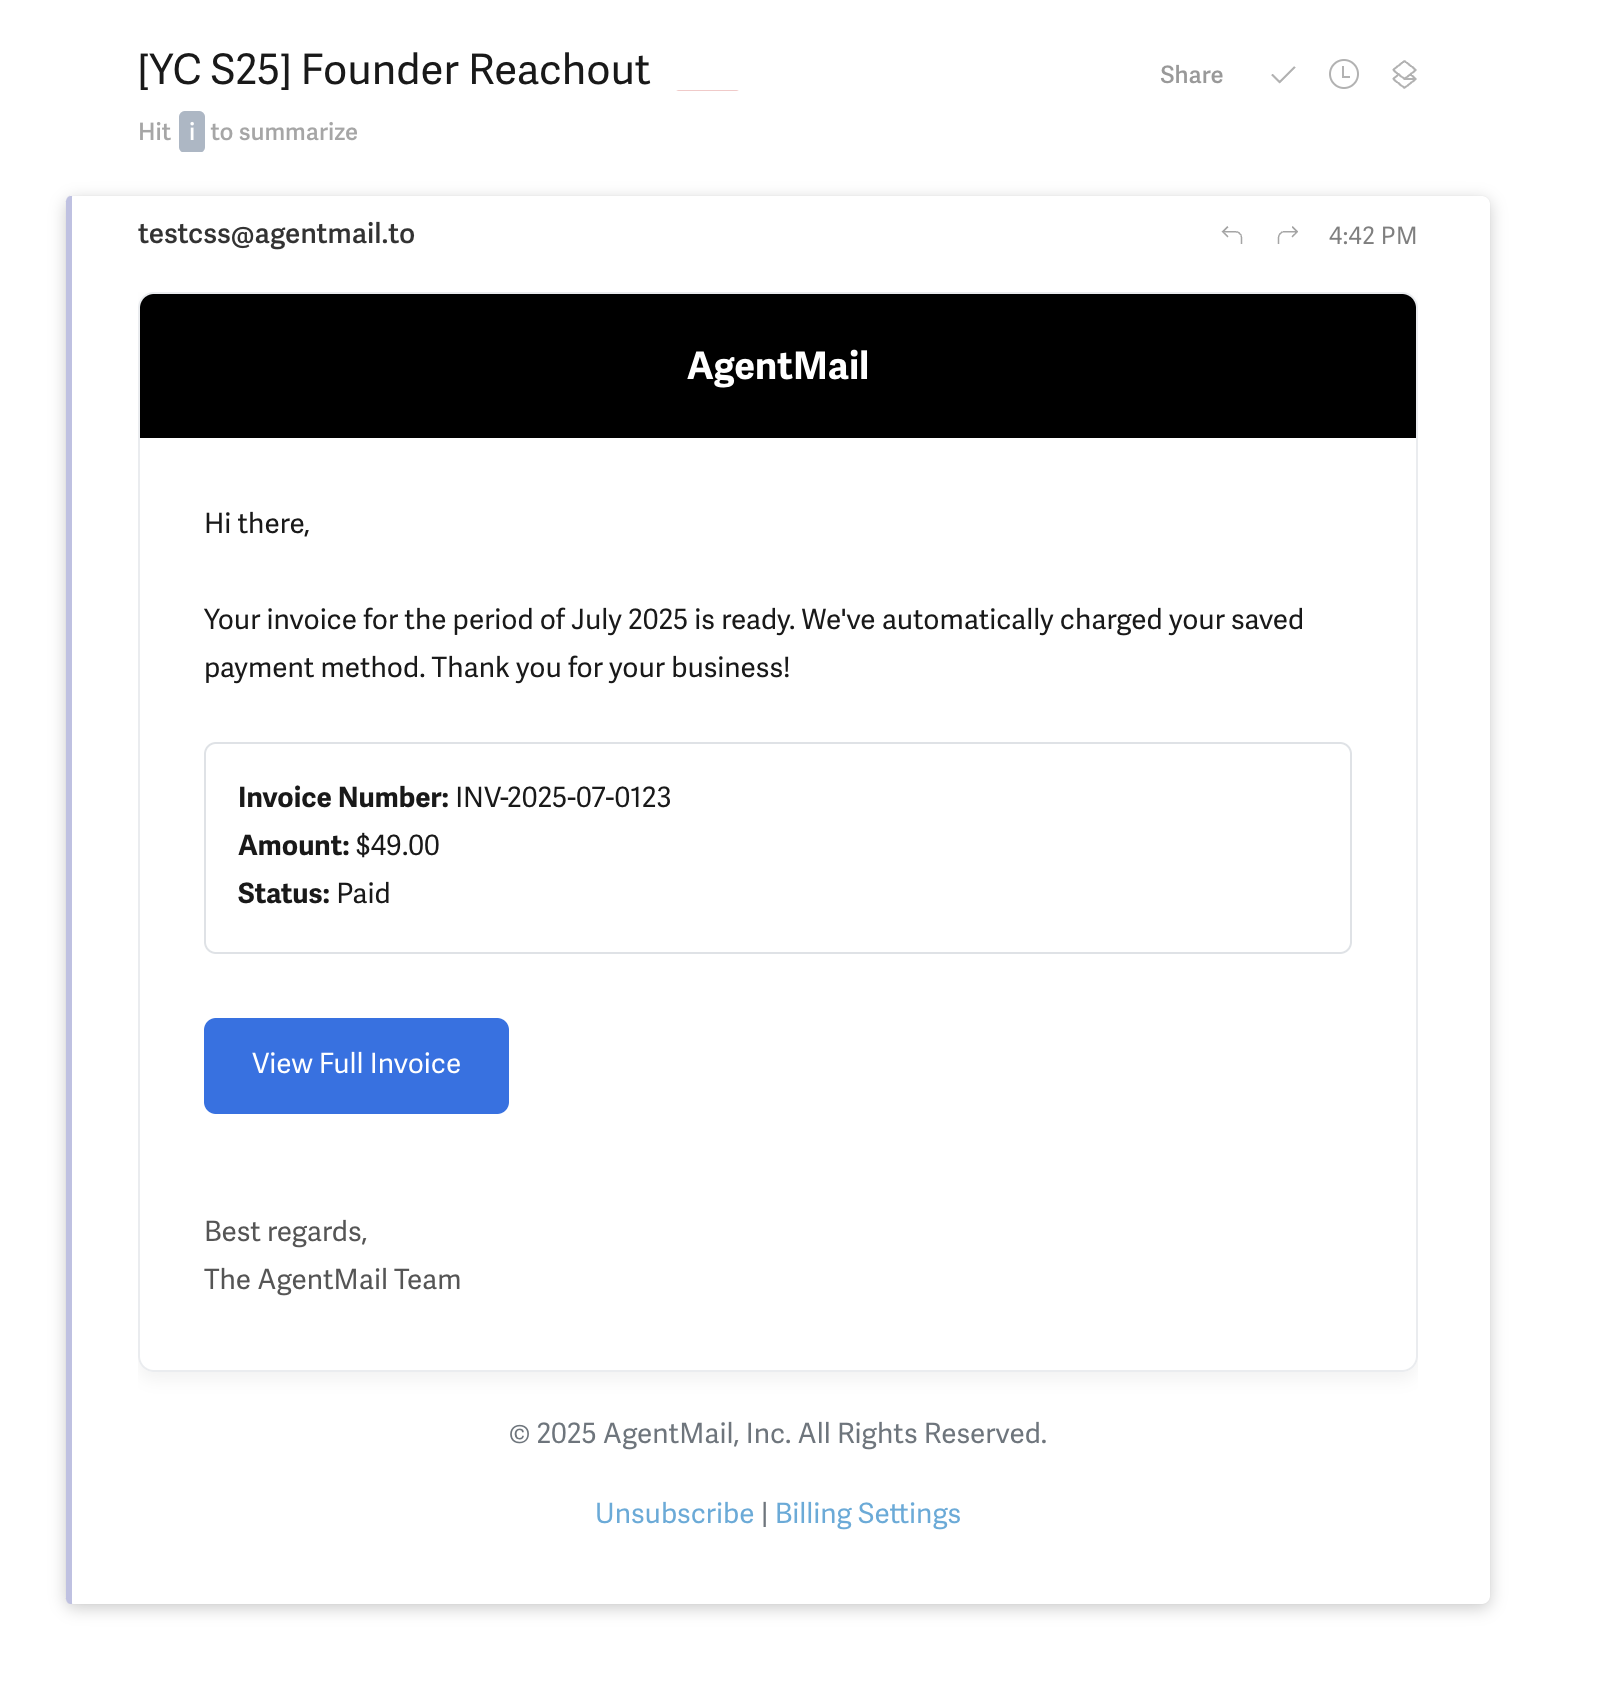
Styling with CSS
To style your HTML in the Message, you should embed your CSS directly inside a <style> tag in the <head> in the payload of the API request. This is the most reliable method for ensuring your styles are applied correctly across different email clients like Gmail, Outlook, and Apple Mail.
Here is an example of a well-structured and styled HTML header:
A Note on text Availability
The text and preview fields on a received Message are derived from the email’s plain-text (text/plain) MIME part. Some email clients — particularly Gmail and Outlook — send forwarded emails as HTML-only, with no plain-text part. In these cases, text and preview will be absent.
When processing incoming messages, always treat html as the primary content source and text as optional.
Receiving Messages
Inbound emails are checked for SPF, DKIM, and DMARC authentication. AgentMail drops emails when authentication headers are present and explicitly fail. When authentication headers are missing, AgentMail still processes the email and labels it unauthenticated. Subscribe to the message.received.unauthenticated event to monitor these messages. See Why are my emails not showing up? for details.
While you can periodically list Messages to check for new emails, the most efficient way to handle incoming Messages for your agents is with Webhooks. By configuring a Webhook endpoint, AgentMail can notify your application/agent in real-time as soon as a new Message arrives, so you can take action on them.
Marking Messages as Read
AgentMail doesn’t have a dedicated “mark as read” endpoint — instead, you use Labels to track read/unread state. This is a common pattern to prevent your agent from reprocessing the same emails.
Avoiding duplicate processing
If your agent uses webhooks, mark each message as read (or processed) immediately after handling it. Then, if your agent restarts or reprocesses, filter by labels=["unread"] to skip messages that have already been handled.